A step-by-step guide to transfer assets from your current browser extension wallet address to a new browser extension wallet address
In this guide, we’ll show you how to transfer assets from your current Trust Wallet Browser Extension wallet address to a new wallet address created with a fresh install of the Trust Wallet Browser Extension.
To do this you’ll need:
- Access to your current Trust Wallet Extension wallet address.
- Access to a separate browser, so you can do a completely separate installation of the browser extension.
Let’s get started.
Part 1: Install the latest version of the Trust Wallet Browser Extension on a new browser
Step 1: Install or use a different browser, separate from the location of your currently installed Trust Wallet Browser Extension.
For example, if you currently have the Trust Wallet Browser Extension installed on Google Chrome, you’ll need to use Brave or Opera to install a different copy of the Browser Extension.
Use these links to download the separate browser you need:
Step 2: In your newly installed browser, install the latest version of the Trust Wallet Browser Extension.
Open your new browser and go to this link for the latest version: | Trust Wallet
Step 3: Once installed, open the Trust Wallet Browser Extension and choose “Create a new wallet”.

Step 4: Set a password, agree to the Terms of Use, then go through the simple setup to back up your secret phrase.
Your new wallet is now ready!
Part 2: Open your “old” Trust Wallet Browser Extension wallet address and send the crypto to your “new” Trust Wallet Browser Extension wallet address
Step 1: Go back to your other browser, and open your “old” Trust Wallet Browser Extension from your computer’s web browser.
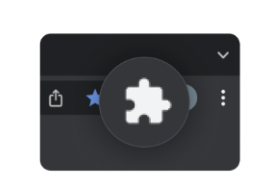
In case you don’t see the Trust Wallet icon in your extension apps menu, click the puzzle icon, then select Trust Wallet.

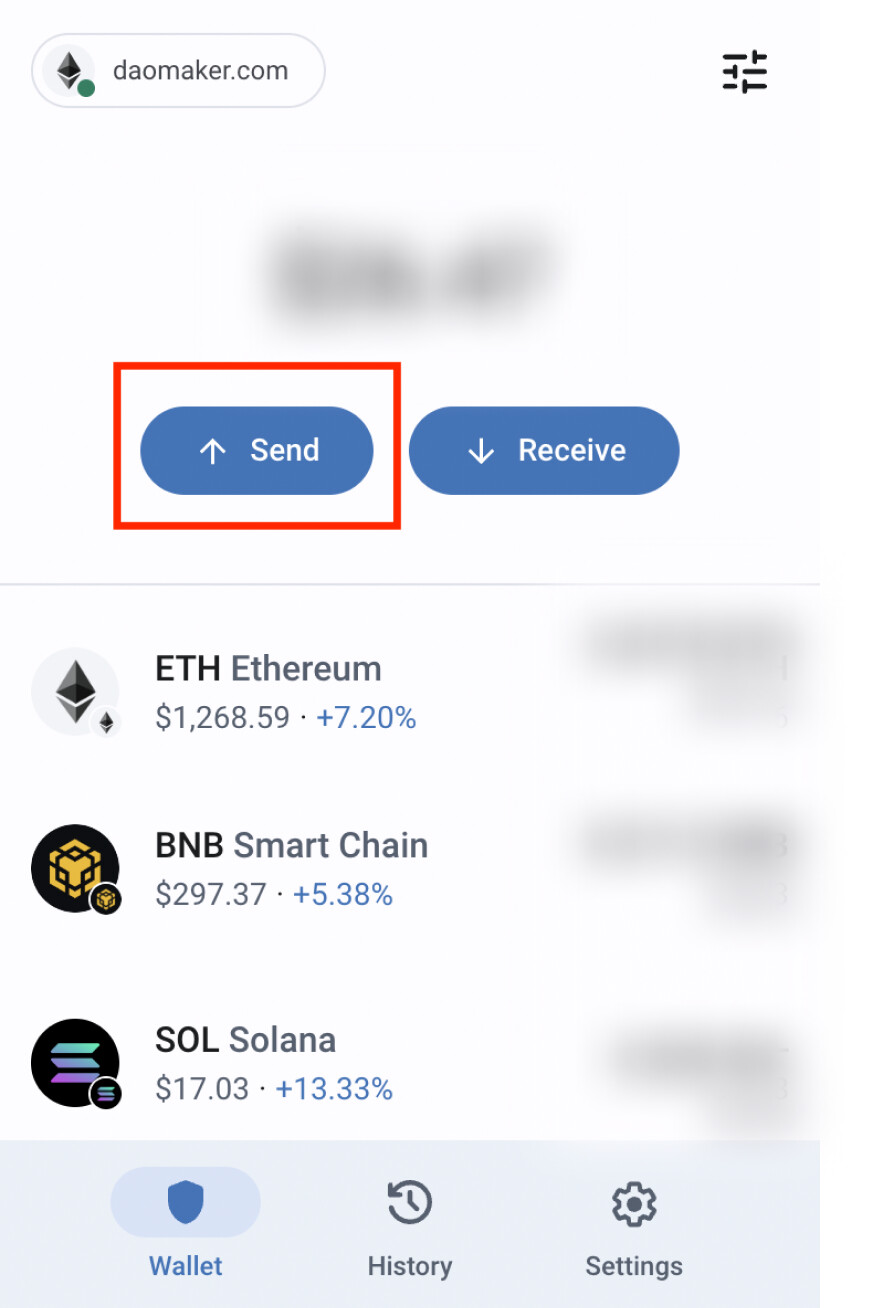
Step 2: Select “Send” from the main page of the Trust Wallet Browser Extension.
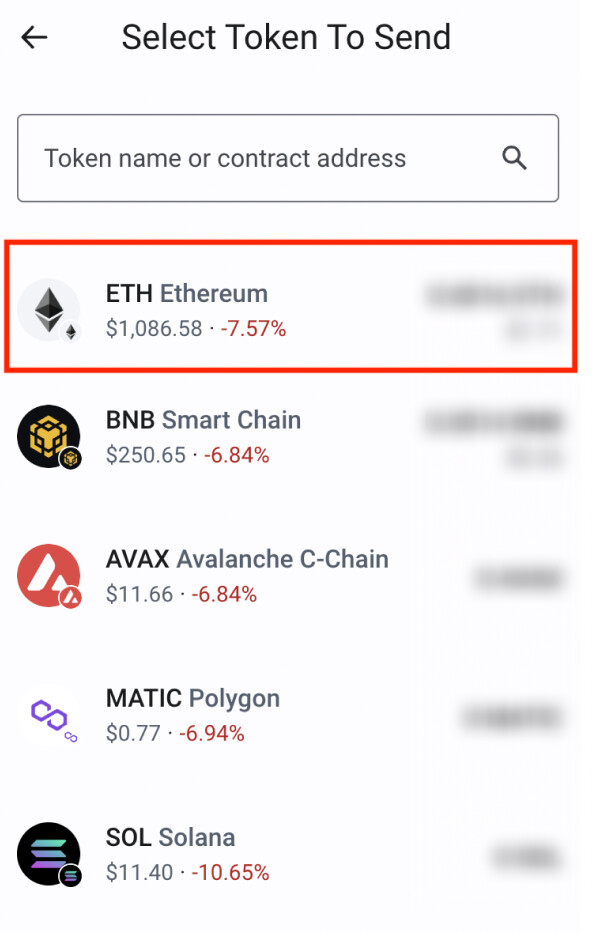
Step 3: Select the token you want to send to your new Trust Wallet Browser Extension address.
We’ll use Ethereum (ETH) in this example, but this could be any asset you want to send.
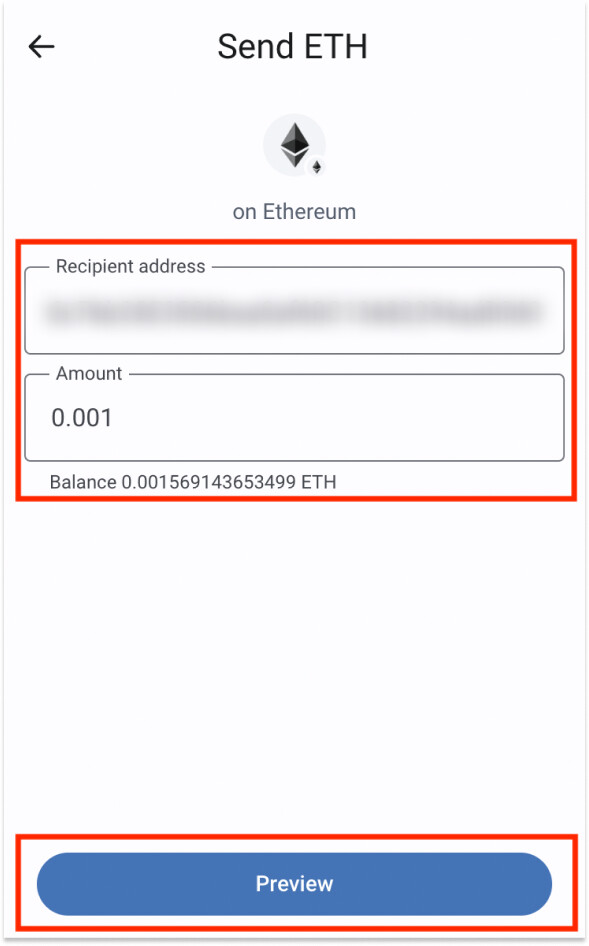
Step 4: For the asset, you want to send, paste the address from your old Trust Wallet Browser Extension into the Recipient address section. Then select “Preview”.
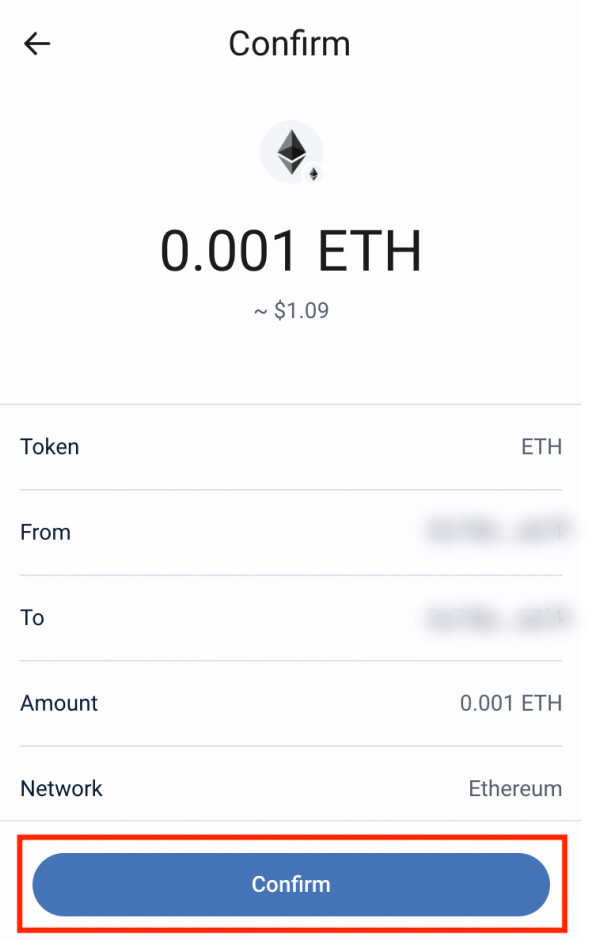
Step 5: Review the details and select the “Confirm” button.
And that’s it! You’ve sent your assets to your new wallet address.
Depending on the asset, transfer times can range from a few minutes to much longer.
Part 3: Confirm funds have been transferred & repeat the above steps to move all your other assets
In this step, you will check your new wallet to ensure the funds you sent have arrived.
Next, repeat the steps to move all your other assets one by one.
We recommend that you wait until all your funds have been transferred over to your new wallet before moving to part 4 below.
Part 4: Uninstall, then Re-install the Trust Wallet Browser Extension.
In this step, we recommend you uninstall your old browser extension and then re-install the latest version. And of course, be sure to keep the new extension wallet, which you just moved the funds to!
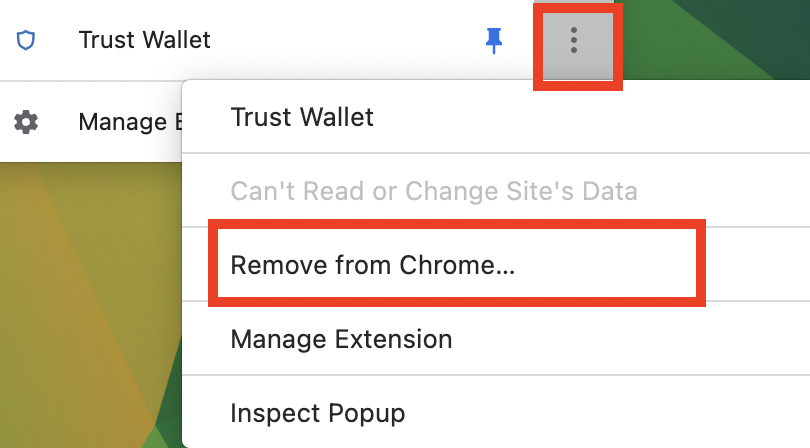
Step 1: To uninstall the old browser extension, start by clicking the puzzle symbol near the top right of your browser window.
Then select the three dots next to Trust Wallet, select “Remove from Chrome…” and follow the prompt to remove the extension.
Step 2: Go to https://trustwallet.com/browser-extension and install the Trust Wallet Browser Extension.
For this step, we recommend that you wait until your funds have been transferred over to your new installation of the Trust Wallet Browser Extension before moving to the next step below.
Part 5: Import your wallet address into the Trust Wallet Browser Extension
Step 1: Open the Trust Wallet Browser Extension, and choose “Import or recover a wallet”.
Step 2: Enter your 12-word secret phrase from your newly created wallet, then click “Proceed”.
Step 3: Set a password, agree to the Terms of Use, then click “Next”.
Your wallet is now imported and ready!
Need assistance?
If you need any help with this process, please reach out to our support team.