Steps to Enable App Lock on iOS
Reminder:
The App Lock security feature will prevent unauthorized access to the app. Before setting up your Passcode, make sure you have a Backup of your Recovery Phrases.Do not forget the Passcode as this can only be bypassed by reinstalling the app. Doing a forced login to the app will automatically delete any stored wallets after 25 attempts.
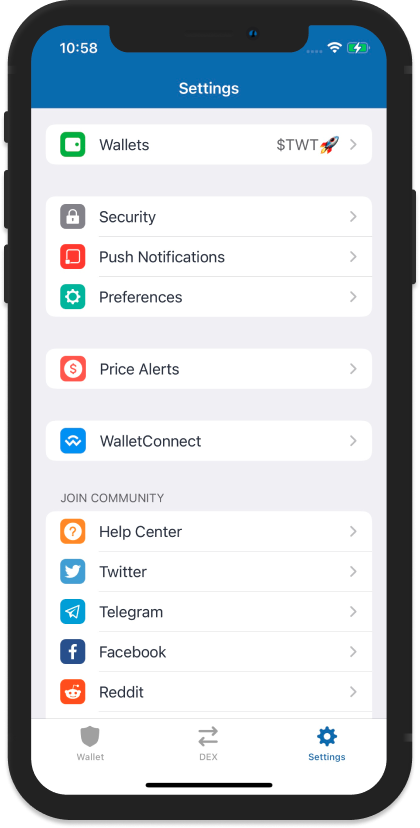
Step 1 - Access Settings
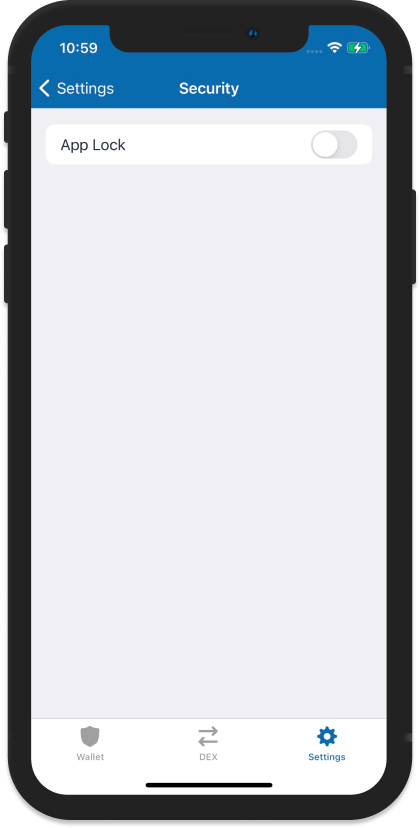
Go to the Settings tab and then tap on Security. Next, toggle the App Lock to the right to enable it.
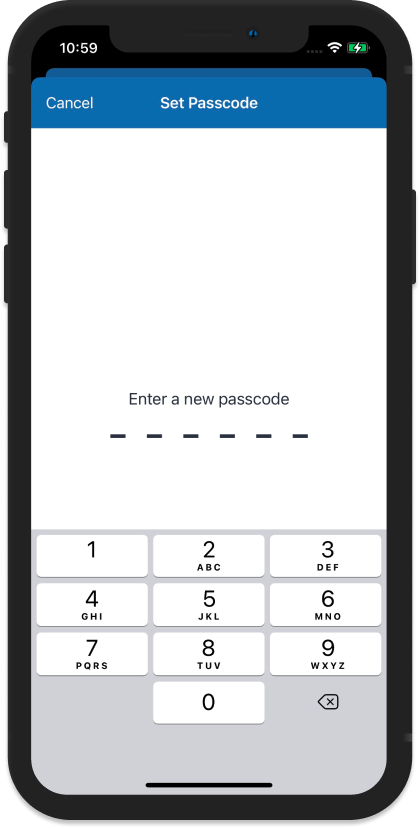
Step 2 - Set Passcode
Enter your desired 6-digit Passcode. Don’t forget to backup your wallet before setting this up (read guide here), so you will be able to recover your wallet if you forget your passcode. Confirm the Passcode.

Step 3 - Enable Biometrics
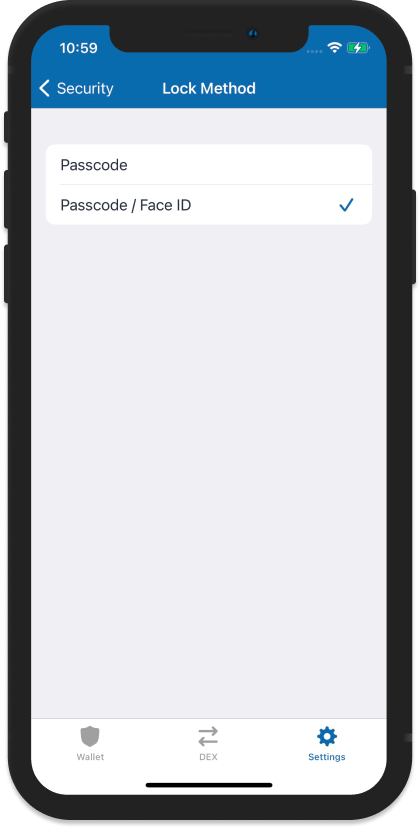
To enable Biometrics login (if device supports it) tap on Advanced Settings. Auto-Lock feature can also be configured here.
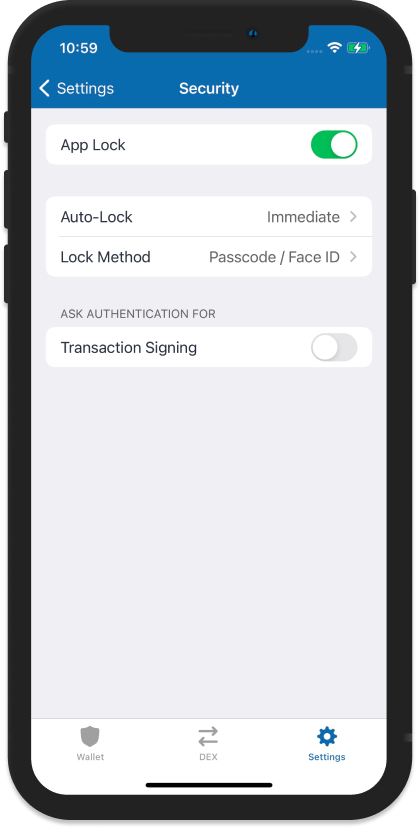
You can choose to enable just Passcode or Passcode / Face ID for the Lock Method. If you already have Face ID configured, the app will ask you if you want to allow the app to use it.
Additional Security Features
Besides the basic Passcode settings, you can also choose to enable Face ID or Touch ID by turning it on the Advanced Settings under Security.
If you want to use Face ID or Touch ID, you need to have this setup first on your device.
Enable Touch ID
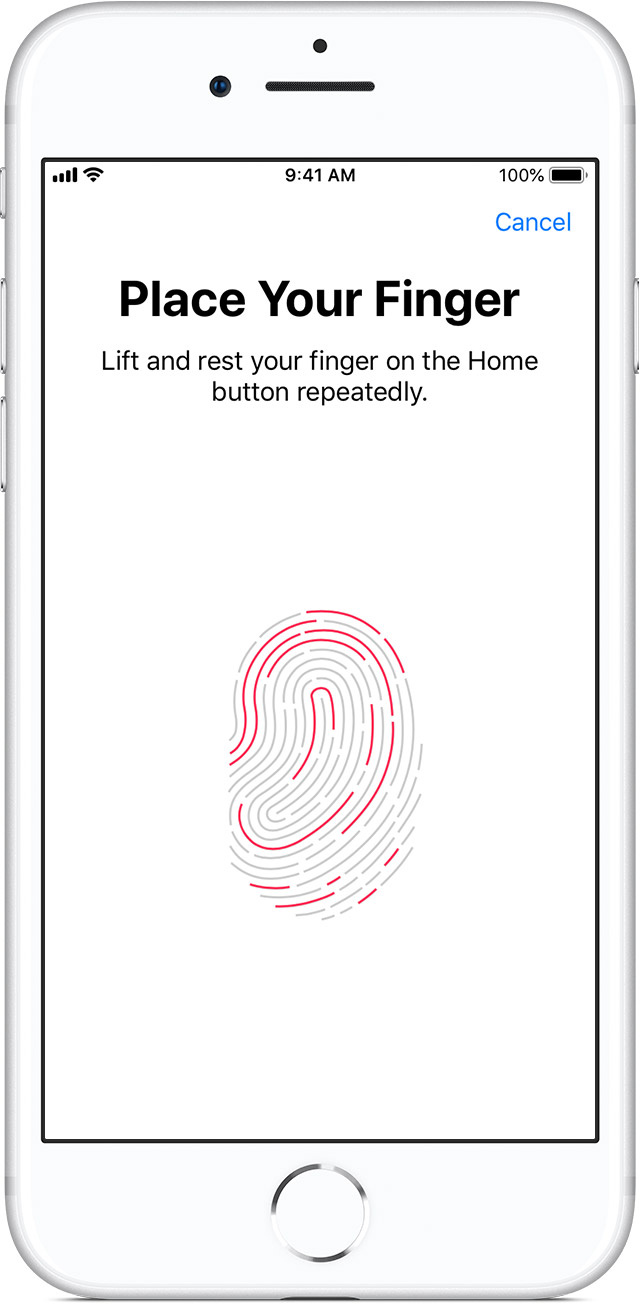
Enable Face ID
Note:
Some older devices only has Touch ID available.
While on the newer iPhones, they have Face ID only.